Yesterday I started to learn Substance Painter 3D. I wanted to completely redo all the textures for my 3D model.
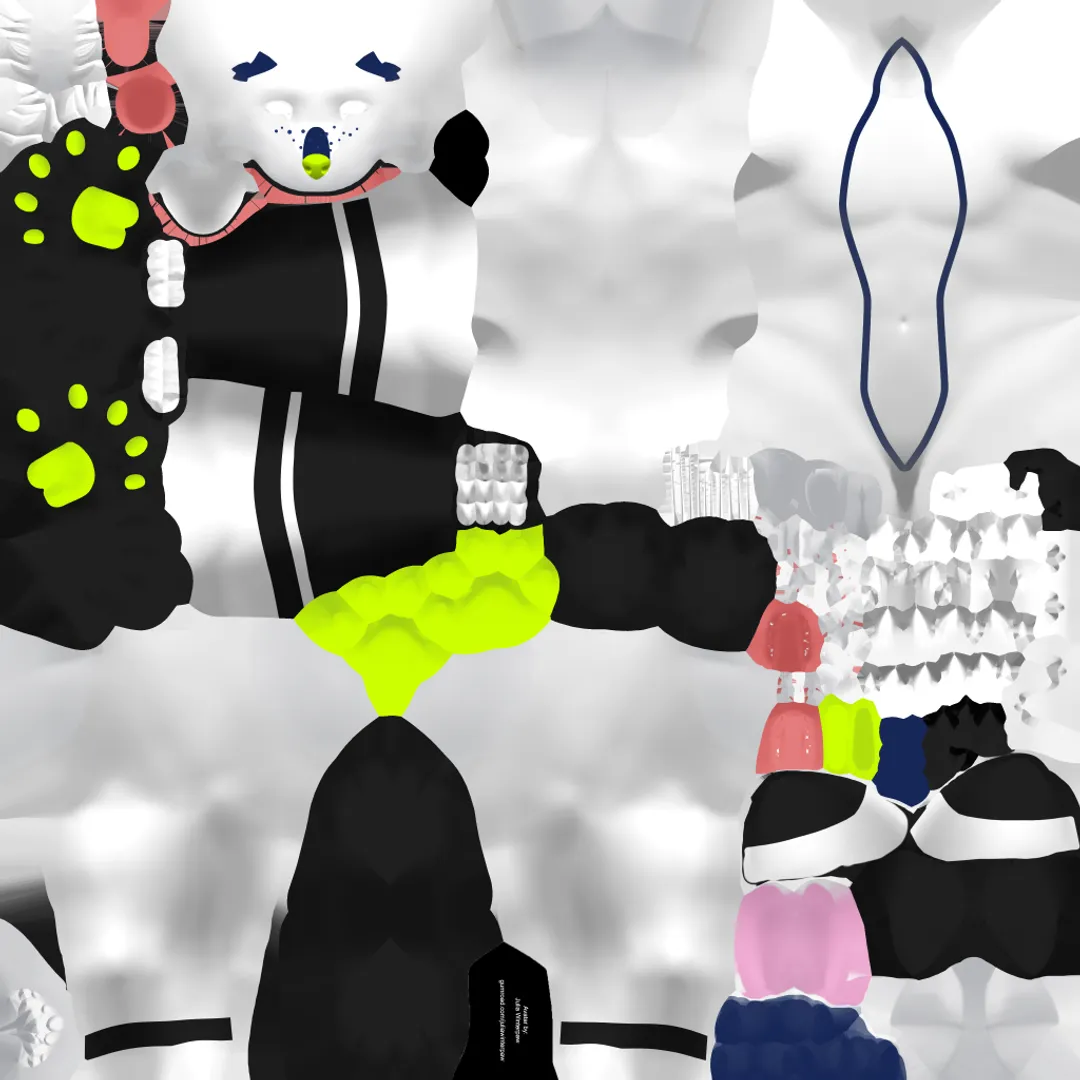
This is the current texture I’m using for my model. Just looking at it like this, it looks fine for the most part, it’s what you’d expect from an unwrapped texture. But upon looking at the model up close, some things become pretty obvious.
For starters, the texturing isn’t all that great. I did all of it with GIMP and I have absolutely zero experience with actually texturing models. Thankfully, the photoshop files that came with the model were actually pretty easy to use, and changing the colours of what I want was pretty easy too.
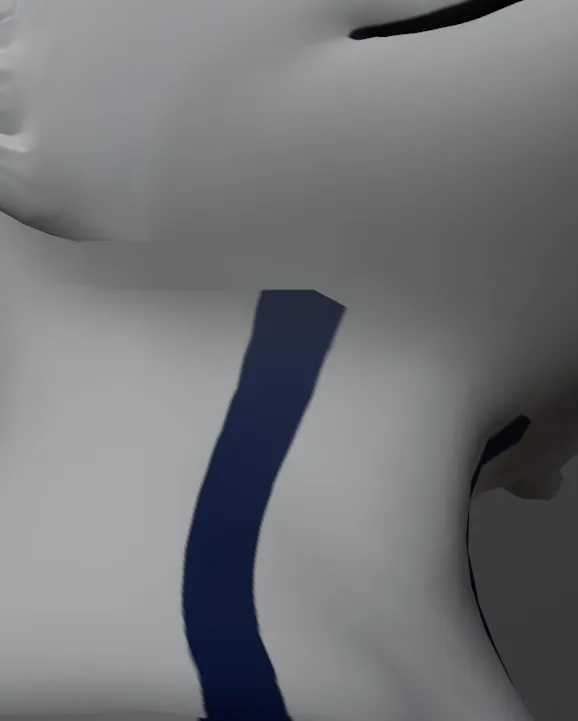
Buuttttt some things were just extremely hard to get right. One example are the blue lines that go down from my sona’s head to his legs. Doing this in GIMP was a paaiiinnnn, especially using the path tool.
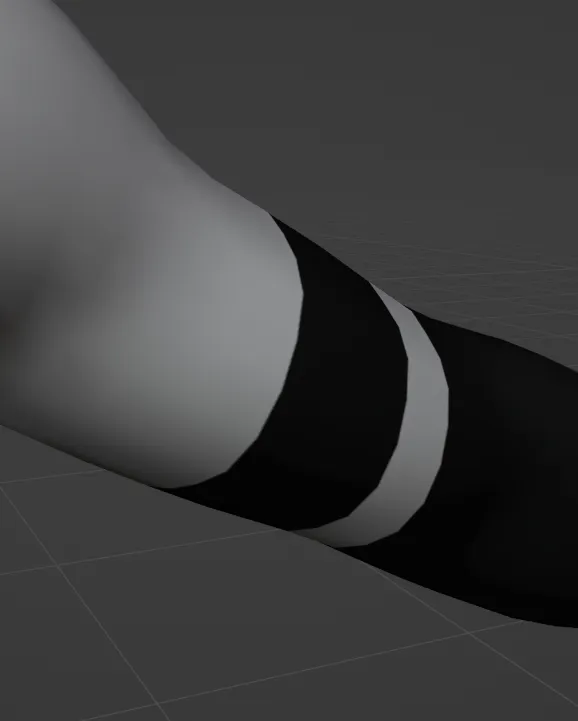
Function-wise, it worked fine, but for what I wanted it was just so damn annoying. And getting the black stripes on his arms to properly mirror(?) on the underside of the arm was a pain too.
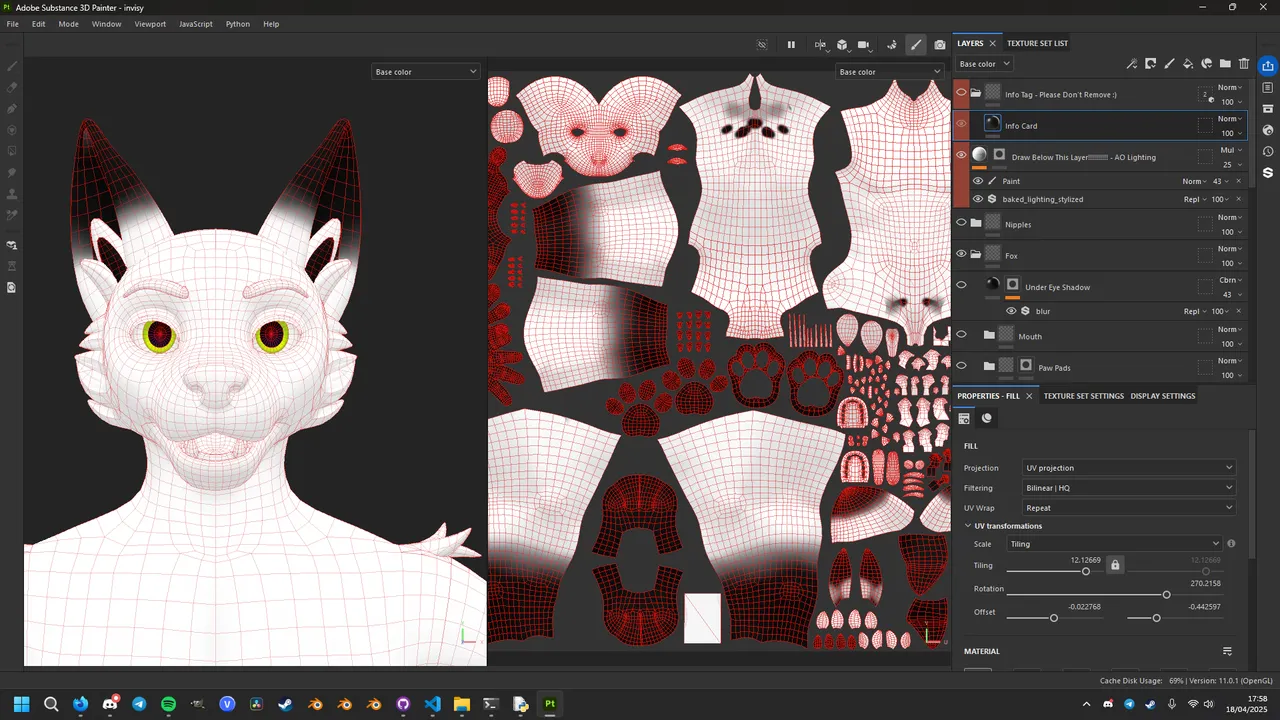
So, yesterday I started learning Substance Painter. And right off the bat, the path tools are so much easier to use. I can see the exact vertices I’m drawing over, and the path tool has automatic curves so the lines don’t look so straight.
I also wish the resolution of the texture was better, as zooming in reveals the interpolation blender is doing to smooth out the edges, but the texture is already 4096x4096px big, and an 8k texture is just not something I particularly need. I did try separate the head texture from the rest of the body, but that just got annoying and didn’t really do anything noticeable.
And mirroring each texture works great too. In GIMP, you can’t even try mirror the texutre as the UVs aren’t even symmetrical, but in SP3D, the mirror line is straight down the model and wherever you draw on the UV, it’ll mirror in the correct place instantly.
Though one thing I’m struggling a little with is the materials. Each texture is a solid colour inside of a group (with a shadows and highlights layer), and these groups have a mask which determine what is and isn’t visible. I got used to this in GIMP, but in SP3D, I’m having trouble drawing my own things with my own colours. Obviously I will learn this over time, I literally only installed the software yesterday, and usually I can pick up software quite well so I doubt I’ll be giving up any time soon.
Another thing I’m struggling to get used to is the actual controls of the software. To look around or to rotate something, you have to hold alt and either use left click or the mouse wheel. On their own their fine, but switching from two software’s constantly that have their own way of looking around and rotating the subject, forgetting which is which becomes pretty common. Again, I’m sure I’ll get used to it, but as I’m learning, it’s just one thing I’m struggling a bit with.